|

What you need:
sheet of card stock (about 70cm x 50cm / 2.3ft x 1.6ft),
adhesive tape,
scissors,
crepe paper,
glue,
stapler,
curling ribbon,
string,
pencil,
cardboard,
tack,
ruler
First create a large compass.
Cut off a piece of string that is as long as the long edge of the card stock sheet (about 80cm/2.6ft). Tie one end of the string to the tack, the other to the pencil.
Pin the tack into the card stock near the middle of the short edge.
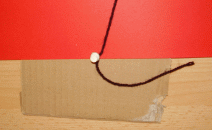
Put a piece of cardboard under the card stock sheet to prevent your working place from
damage.
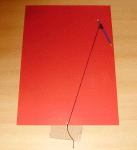
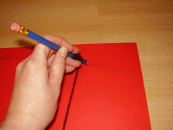
Draw the circle segment onto the card stock.
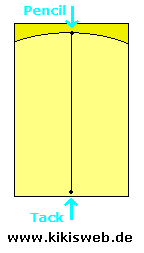
Draw a line from the middle (lower edge) to each end of the circle line.
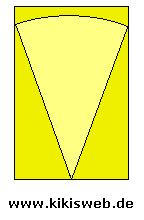
Draw a second line 2cm / 1inch next to each line. You'll need these stripes for gluing the school cone together. Then divide the segment of the circle evenly into four "triangles". Draw a line from top to bottom in the middle, then another line in each half.

Cut the segment of the circle out.
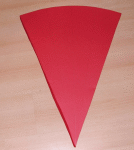
Fold the card stock along all lines.
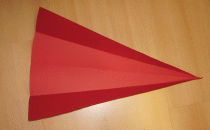
It is easier to fold the card stock if you go along the lines with pointed scissors first. The scissors should not be too sharp so that they don't cut through the cardstock.
Glue the two stripes at the sides together. You can also staple the cone together at the top.
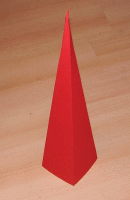
Use normal glue or double-faced adhesive tape for gluing.
Cut off a long stripe of crepe paper (about 50cm to 60cm / 1.6ft to 2ft). Put the crepe paper around the school cone so that the edges of the cone and the paper are on top of each
other.
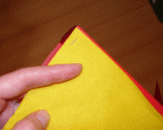
Staple the crepe paper to the rim of the school cone.
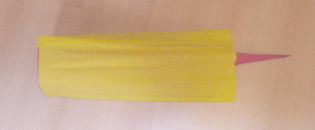
Fold the crepe paper up.
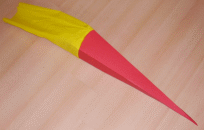
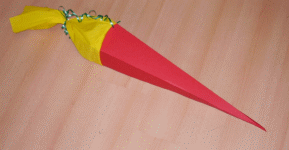
Fill the school cone with sweets or presents.
Tie the school cone up at the top with a piece of curling ribbon.
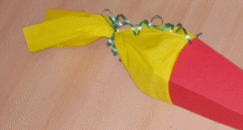
That's it!
©
by kikisweb

|