|

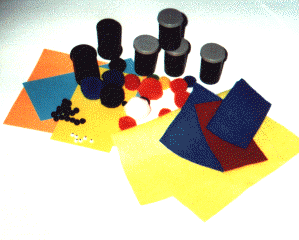
What you need:
24 film canisters or other,
24 large coloured pompons,
48 small black pompons,
needle,
thread,
double-faced adhesive tape,
felt in various colours,
paper in various colours,
scissors,
glue,
48 little wiggle eyes
If you do not have as many as 24 film canisters,
ask a photographer for them (or in a photo shop).
It might even be that you get them for
free.
Decide for yourself in which order you want to create the gnomes.
You might be a little faster if you first produce all parts separately and then stick the parts together instead of creating one gnome after another.
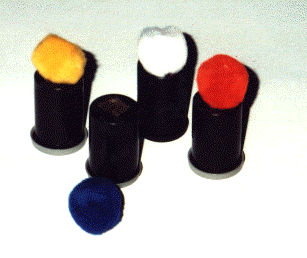
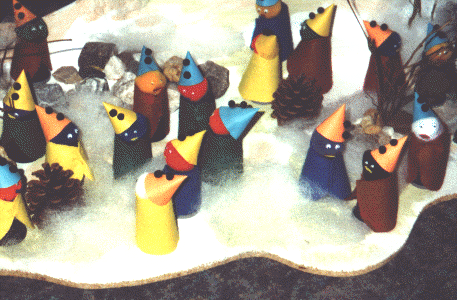
Body and head of the gnomes: Put the film canister top down. Apply a piece of double-faced adhesive tape to the bottom of the canister. Stick a large pompon onto it.
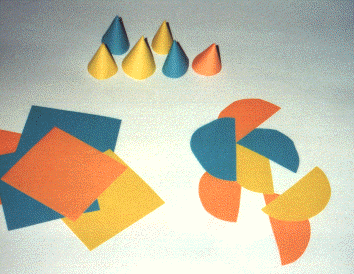
Hats: Cut twelve circles out of coloured paper (about 3.1" diameter).
Cut the circles in half. Create pointed hats out of the semicircles.
Glue the edges
together.
Stick a hat to each large pompon.
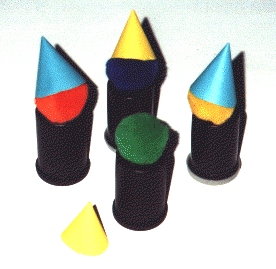
Stick two small black pompons below each other onto each hat.
Coat: Cut 24 rectangles out of felt (about 4.7" x 2.4"). Put a piece of felt around each canister. Sew the edges tightly together between the pompon and the canister. Now it looks as if the gnomes were wearing
coats.
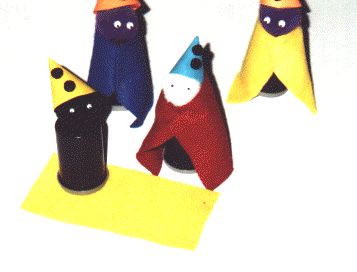
Stick two wiggle eyes next to each other onto the large pompon.
Cut the lower edge of the coat round.
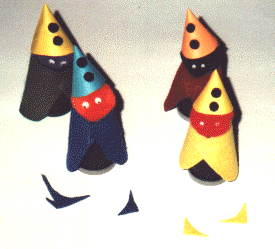
Cut 24 little mouths out of paper or felt.
Stick the mouths onto the large pompons below the eyes. Let the glue dry.
If you want to apply numbers to the gnomes,
stick them onto the coat or below the gnomes.
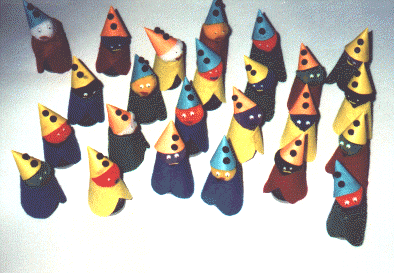
Fill small presents into the film canisters.
For the landscape you need:
thin chipboard (about 2.6ft x 2ft or larger, about 0.2" to 0.3" thick),
lath (about 2" x 1" thick, as long as the long edge of the chipboard),
pieces of wood,
pebbles,
glue that works on stones,
covering paint,
brush,
thin shrubs,
cotton
wool,
fir
cones
Tools:
fret saw,
drill,
hammer or cordless screwdriver
Draw a wavy line parallel to the long edge onto the middle of the chipboard.
These wavy line will be the mountains later. Using the fret saw (or other), cut the chipboard into two parts along the wavy line.
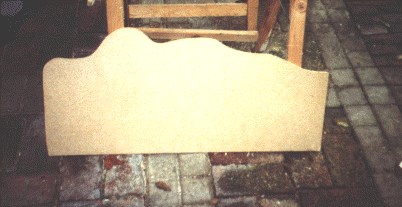
Sandpaper the chipboard if there are any uneven patches.
Put the two parts together along their long, straight edges in a right angle. For more stabilization nail or screw the lath into this angle.
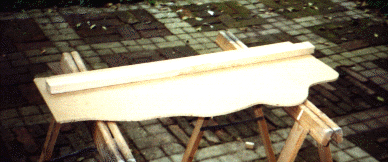
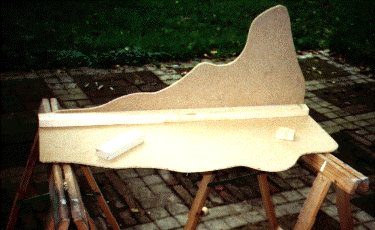
Drill some holes into the lath, but not completely through the lath. The shrub branches will be put into these holes later. Nail some more pieces of wood onto the chipboard. Drill some holes into these pieces as well. These will be used for the branches later
too.
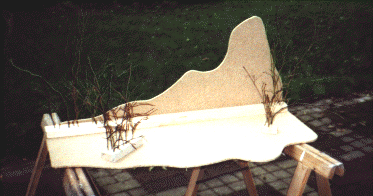
Colour the landscape. Let the paint dry.
Put branches of the shrub into the holes to get little
forests.
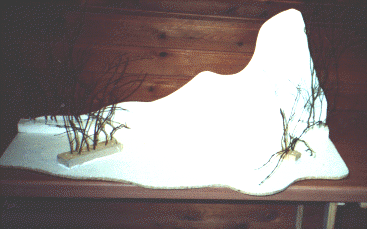
Glue the pebbles around the branches.
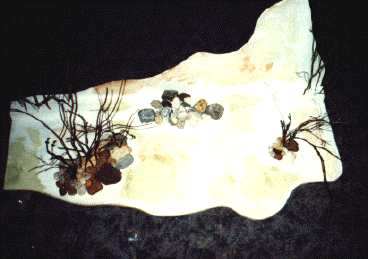
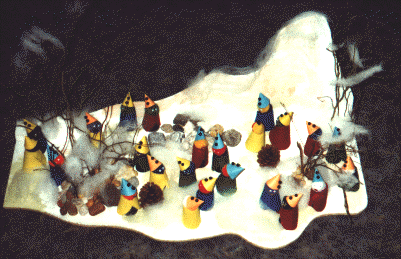
Decorate the landscape with cotton wool and fir cones.
Put the gnomes into the
landscape.
©
by kikisweb

|