|

What you need:
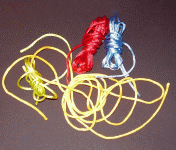
silk thread,
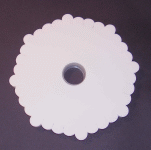
braiding board
Kumihimo means “to braid strings” in English.
To braid the strings more easily,
you can buy braiding boards. These braiding boards have notches on the edge, where you can put the strings in.
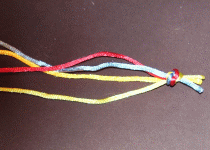
Tie four strings of silk thread together at one end.
Put the strings tightly on the braiding board. Put one string up, one to the left, one down, and one to the right.
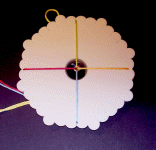
Don’t put the strings into opposite notches.
Use the notch next to the opposite
one.
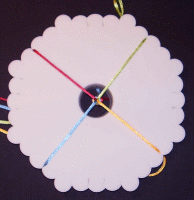
The knot remains in the middle.
To knot the bracelet is quite easy:
Pull the string from below up…
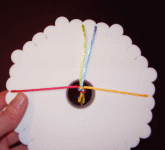
…and the string from above down.
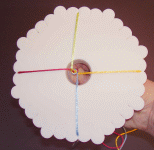
Then take the right string to the left side…
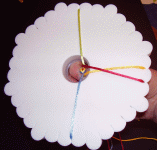
…and the left one to the right.
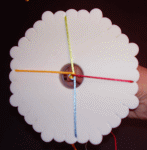
Always put the strings in the opposite notch.
Then you start again from the beginning.
To make the knotting even, try to keep hold of the knot from behind. Sometimes it might also be necessary to pull
slightly.
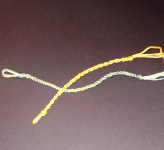
Keep going until your bracelet is long enough to fit around the wrist.
Tie the ends
together.
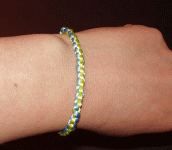 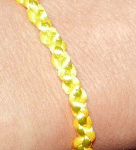
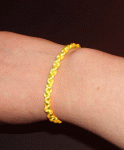
Here’s another tip for you: Why don’t you try to knot the strings in a different order?
Or take more strings! There are also books with patterns that you can apply to the braiding
board.
©
by kikisweb

|
![]()
![]()