|

What you need:
fuse beads,
pegboard,
greaseproof paper or baking parchment,
dry iron,
optionally a pair of tweezers
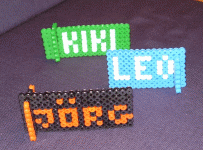
Draw the name on squared paper as a pattern.
Place the beads on the pegboard according to this pattern.
The rest of the plate is filled with beads of a different colour.
You need four vertical rows of beads next to the name on one
side.
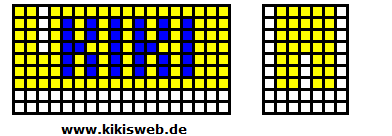
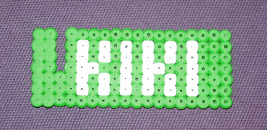
Fill the first two vertical rows completely with beads.
Leave four pegs from the top empty in the third vertical row
and only apply beads to the last three
pegs.
You also need a holder for the nameplate.
Apply five rows with seven beads each to the pegboard except for the third row. There you only need four
beads.
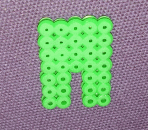
If you put both parts together later, your nameplate will not fall down.
When all the beads for the nameplate and the holder are applied, preheat the iron to the medium
setting.
Put a piece of greaseproof paper on the beads (which are still on the pegboard) and iron them until they fuse under the paper. You can easily recognise that.
Turn off the iron and wait a minute. The beads are quite hot now.
Peel off the greaseproof paper and remove the parts from the pegboard.
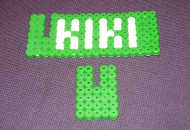
Put the parts together.
Letter patterns:


©
by kikisweb

|
![]()
![]()