|

What you need:
thin wooden board (about 8" x 10" or larger),
Christmas napkins,
clear coat or glue for napkin technique,
drill,
aluminium foil,
curling ribbon,
two small wooden beads,
brush,
glitter
Put the wooden board in front of you in landscape format.
Drill a hole into the two upper corners.
Draw 24 dots along the lower edge, staggered in two rows.
Drill these holes
too.
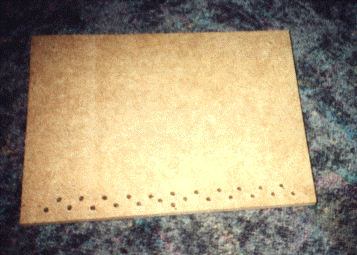
Cut the motifs out of the napkins.
Decide how you want to arrange the motifs on the board.
The edge with only two holes is the top.
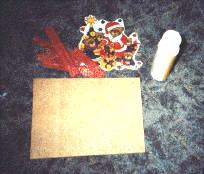
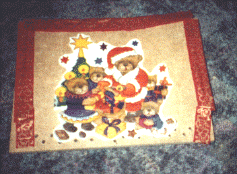
You may want to undercoat the board first. Let the paint dry afterwards.
Separate the layers of the napkins. You only need the uppermost layer on which the motif is printed. Place the motifs on the board. Apply glue for napkin technique from the middle to the
edges.
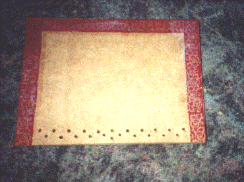 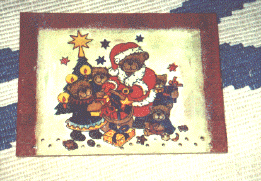
Let the glue dry.
Apply another layer of clear coat and
carefully sprinkle some glitter onto the
board.
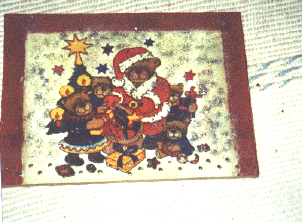
Let the clear coat dry.
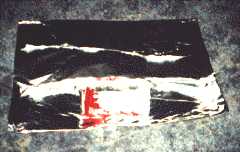
Wrap pieces of aluminium foil around 24 little sweets or presents. Tie the ends of the presents together with some curling ribbon like a candy. You need one longer piece of ribbon on each present for
hanging.
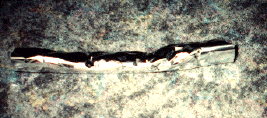
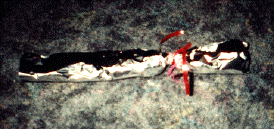
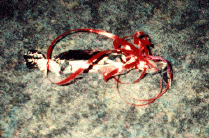
Draw 24 tags with the numbers from one to 24. Tie a tag to each present.
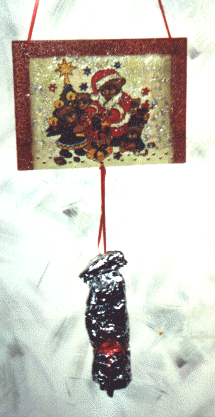
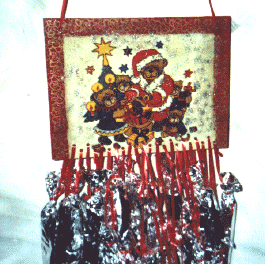
Pull the ends of a long piece of curling ribbon through the holes at the top edge. Tie a bead into each end so that the ribbon is fixed and can be used for hanging.
Tie each present to the picture as well by pulling the curling ribbon through the holes at the lower edge.
 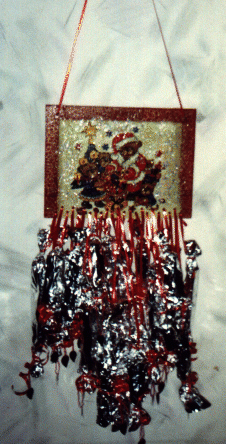
©
by kikisweb

|