|

What you need:
large rectangular pegboard,
fuse beads, pair of tweezers,
greaseproof paper or baking parchment,
dry iron,
transparent paper
(e.g. coloured cellophane or parchment/greaseproof/wax paper),
glue
Fill the outer two rows of the pegboard with beads.
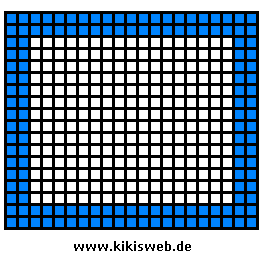
Put several double rows into the middle (see drawing).

When you have finished applying the beads, preheat the iron.
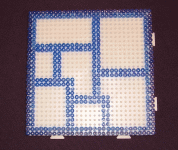
Put a piece of greaseproof paper on the beads (which are still on the pegboard).
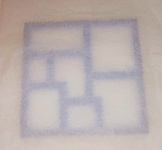
Iron the beads until they fuse under the paper.
You can easily recognise
that.
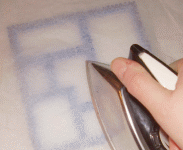
Turn off the iron and wait a minute. The beads are quite hot now.
Peel off the greaseproof paper and remove the beads from the pegboard.
Turn the plates around and iron the back as well.
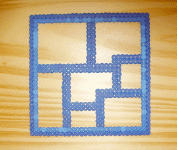
Make four more of these plates.
You can use different patterns and different
colours.
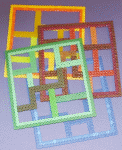
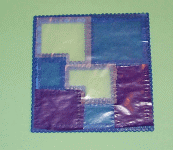
Stick transparent paper to each of the plates.
The side with the paper will become the inner side of the
lantern.
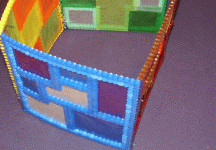
Now put the plates together at a right angle and connect them with wire.
Therefore you have to tie the outer rows of beads together.
You can also use strong thread and a needle for
that.
Now you need another plate for the bottom of the lantern. Fill the pegboard completely with beads
again.
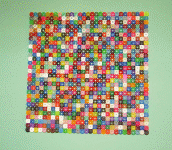
After you have ironed the plate from both sides, tie it to the edging of the lantern.
The last plate you have to made needs to have a broad rim and a hole in the middle where the light can be put
through.
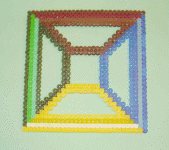
Connect this plate to the top of the lantern with wire.
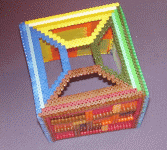
Finally, you have to fix a piece of wire for hanging.
Fasten a piece of wire to the left and right upper side of the
lantern.
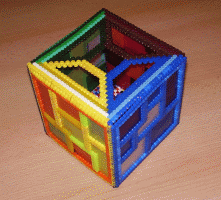
IMPORTANT!!! Only use cold light for all kinds of fuse bead lamps. Lights that become hot will let fuse beads melt. So do not use candles.
Install a (battery-operated) lantern stick.
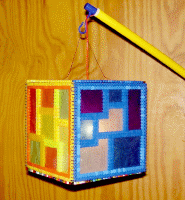
©
by kikisweb

|
![]()
![]()